Project: Galley Rebuild
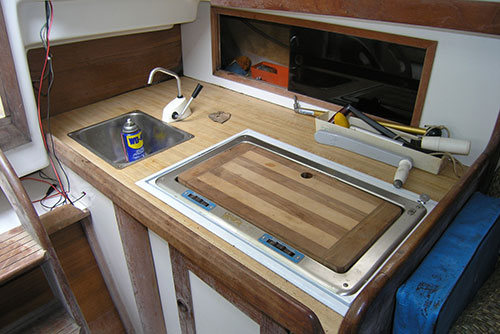
Cosmetically, there was nothing wrong with the galley when I first bought the boat. However, the white formica face of the cabinet was rotting from the inside, and it was very soft. The entire cabinet really needed to be rebuilt. |
|
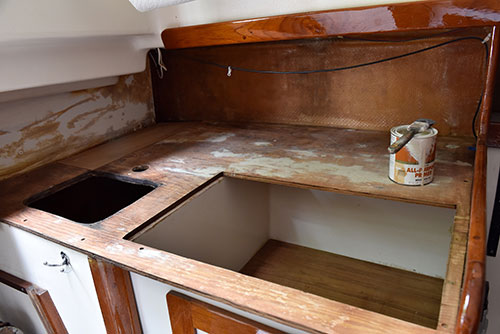
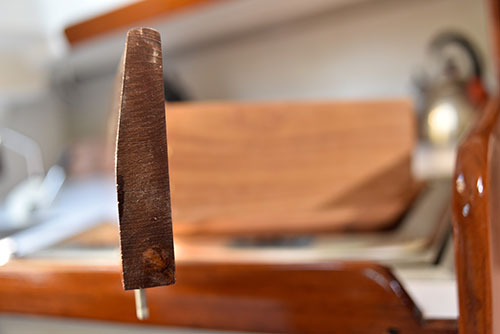
I removed the old butcher block formica using a heat gun and a metal yardstick. I had sharpened one end of the yardstick to help separate the formica from the plywood. |
|
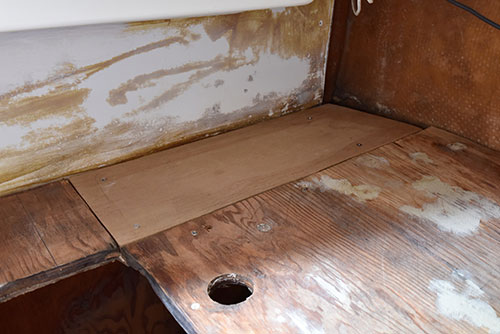
Years of moisture had also rotted a section of the plywood base. I cut out that section using my Rotozip and fitted a new piece of marine-grade plywood. I fastened the piece to the fiberglass top with stainless steel screws. |
|
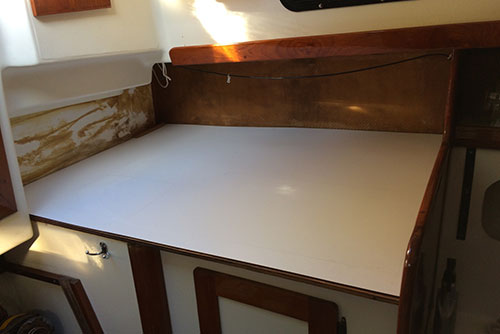
Here's the new piece of formica, fitted, but not yet glued in place. |
|
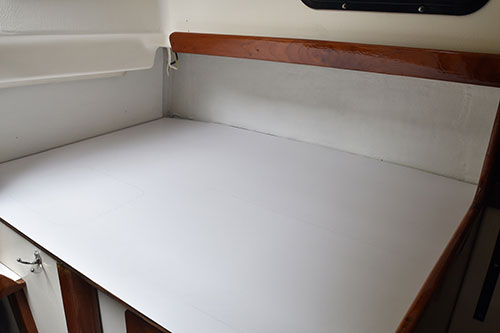
I painted the back and side of the cabinet area with a coat of oil-based interior paint over a coat of oil-based primer. |
|
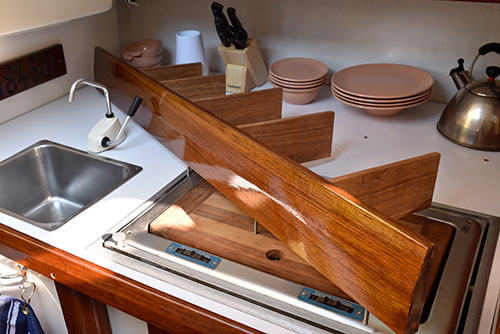
Here's the new "cabinet," ready to be installed. |
|
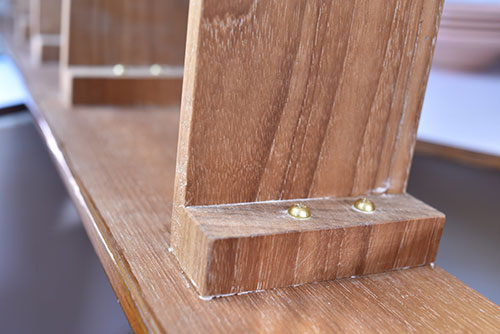
It's made of solid teak... |
|
...and the dividers are fastened with brass screws, which will allow me to change the position of the dividers. |
|
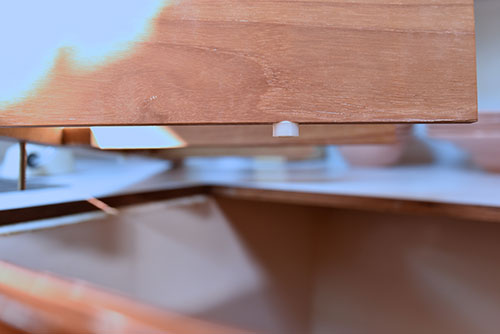
There are also plastic spacers throughout, which will let water pass underneath the teak without getting it wet. |
|
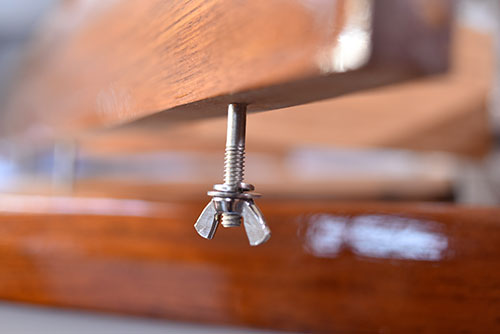
And the cabinet is attached to the base with wing nuts and lock washers. This will allow me to easily remove the cabinet if I need unobstructed access to the deck-hardware fasteners. |
|
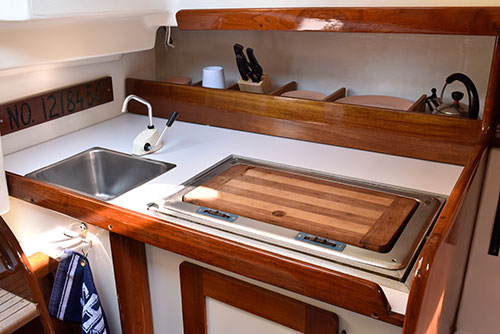
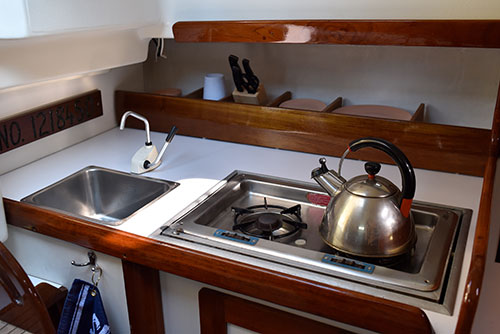
Here it is, installed. I'll probably apply a few more coats of Epiphanes, which should "redden" the teak. |
|
The stove is old, but it still works and looks great. |
|
Next project: Fuel tank replacement...