Saba — Before and After Photos
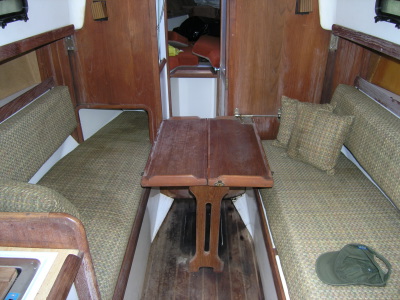
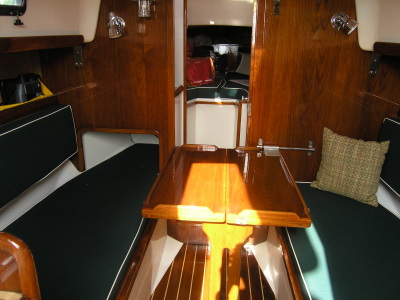
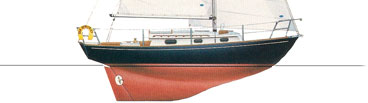
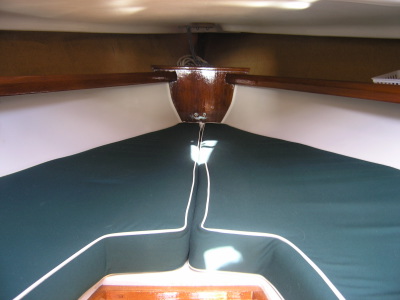
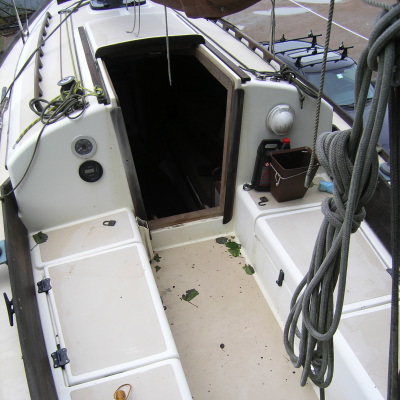
Here's a photo I took before I bought the boat and one taken three years later, soon after launch.

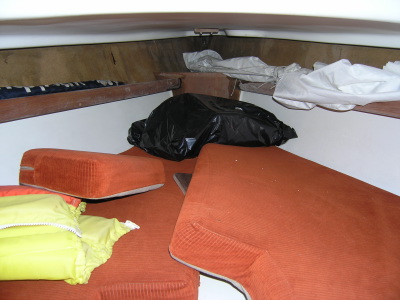
New light fixtures, new cushions and upholstery, and new portlight lens.
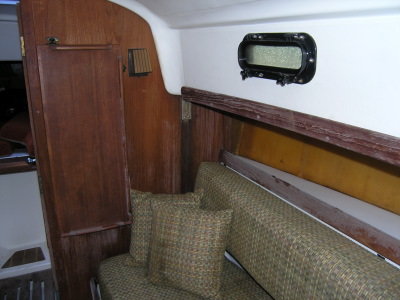
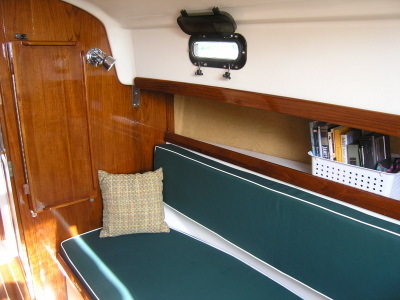
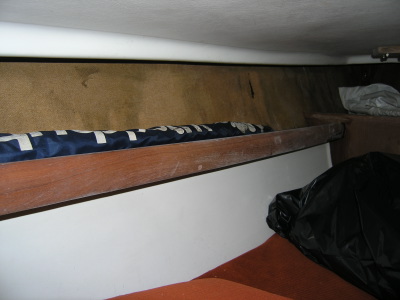
Notice that, behind the shelf, there's no liner in the "before" photo.
In order to match the liner on the other side, I pull material out of the galley cabinets and use it here.

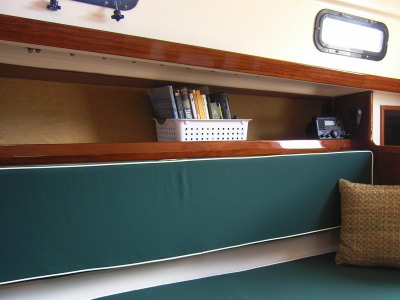
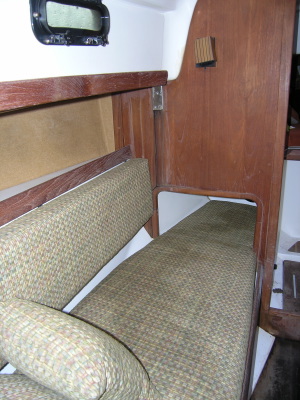
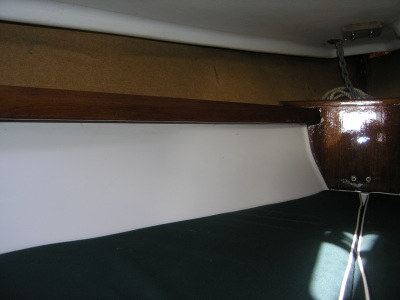
Here's another view.
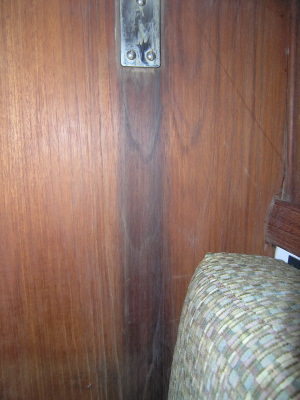
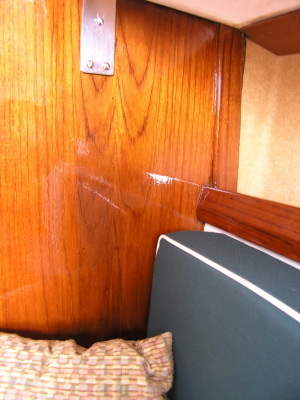
I wasn't sure that the water stain would come out, but it did (almost all of it).
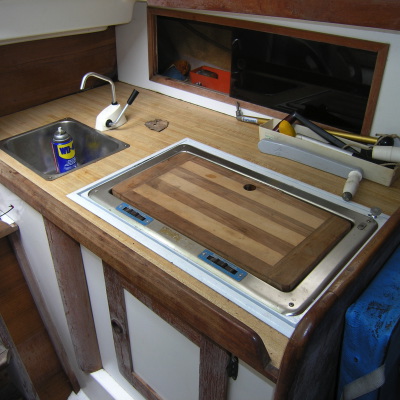
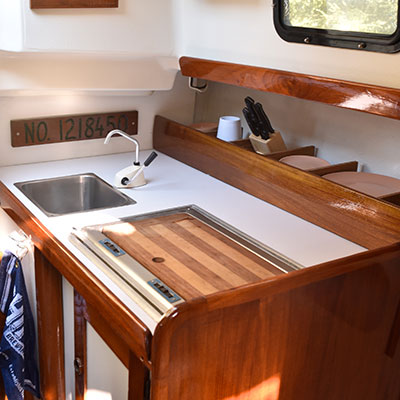
Though it looks okay from the outside, the galley cabinet was rotting,
so I rebuilt it (and replaced the formica top while I was at it).
This work was done in 2017.
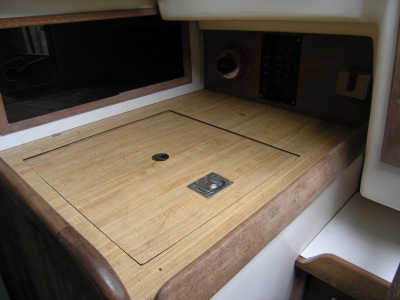
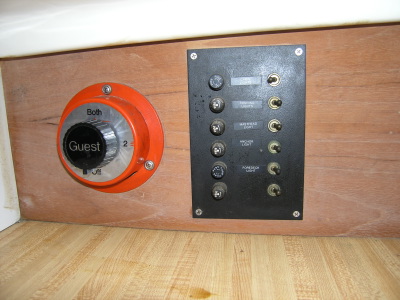
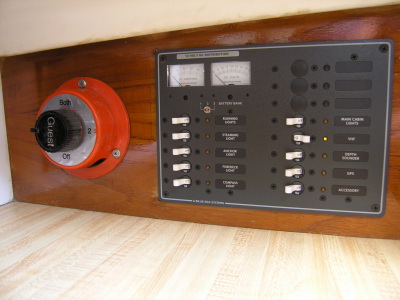
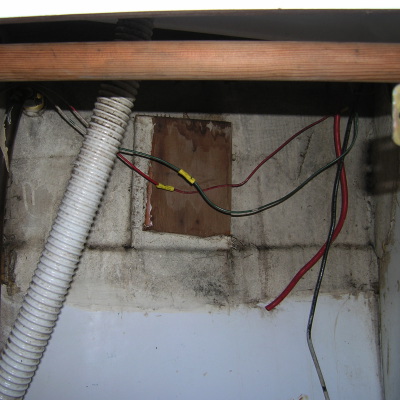
This new electrical panel is a huge improvement. I can monitor overall current drain,
voltage levels for each battery, and I have a few more switches to play with.
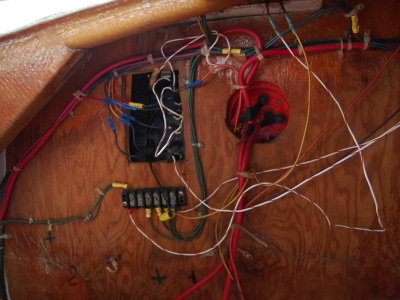
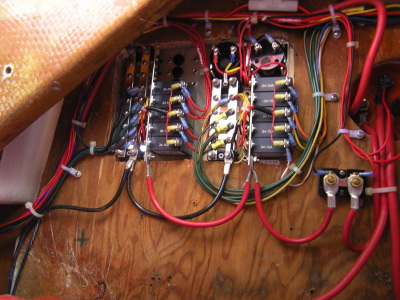
Of all the jobs I did on the boat, the one I enjoyed the most was wiring my new panel.
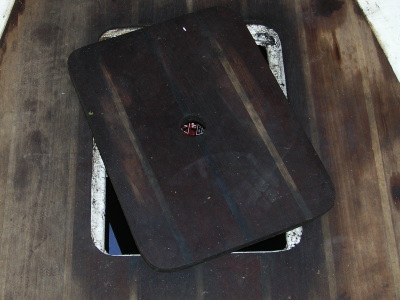
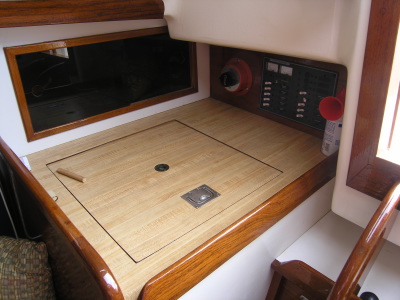
Saturated with dirty, black oil, there was no hope for the old cabin sole.
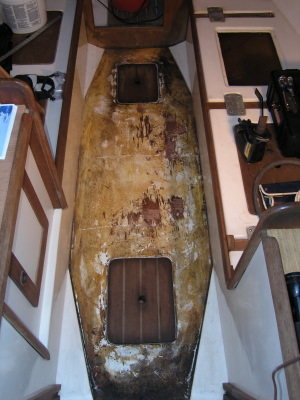
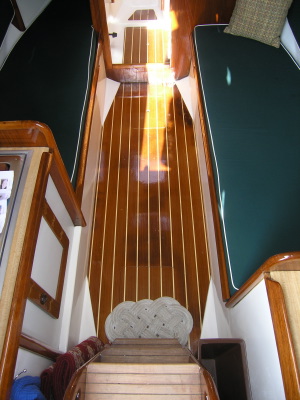
I was able to remove the old sole with the help of a Rotozip and used it as a template for the new one.
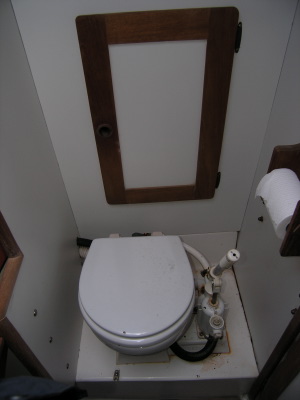

Though you can't tell from the photos, the toilet was overhauled and the "Flush/Dry" dial was replaced.

I used a light from the salon to replace the broken fluorescent light.
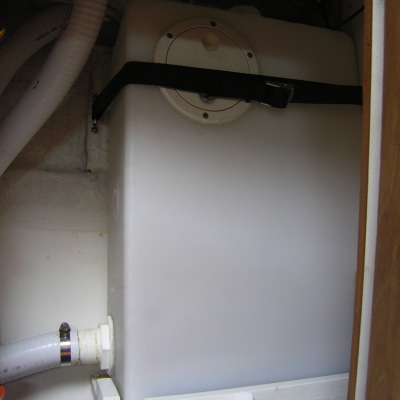
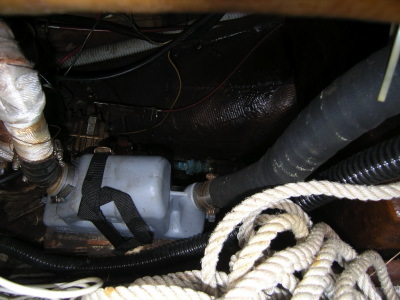
In the hanging locker behing the toilet I added a gravity-drain holding tank.
It works great.
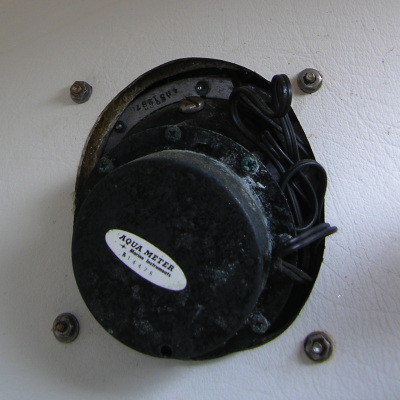
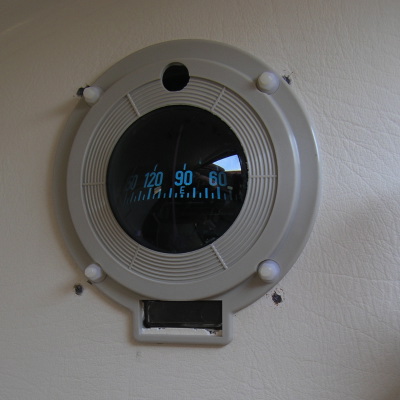
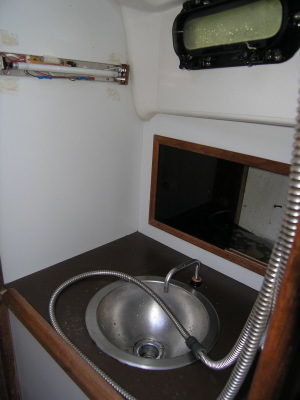
The lens of the old compass was very cloudy. I replaced it with this new Plastimo compass, which I bought through eBay for half price.
In addition to removing lots of mildew, I rebuilt the port shelf, which was rotted.
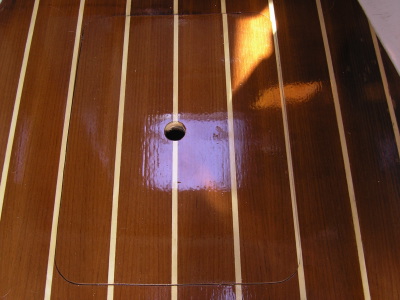
Notice the new through-deck hole for the anchor rode.
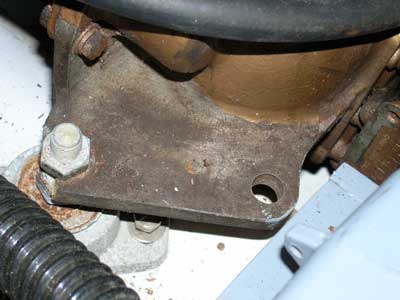
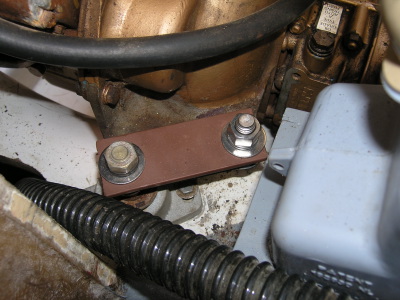
While winterizing the engine this corner broke off at the engine mount. I had this piece fabricated to resecure the engine. I've had no problems with it.
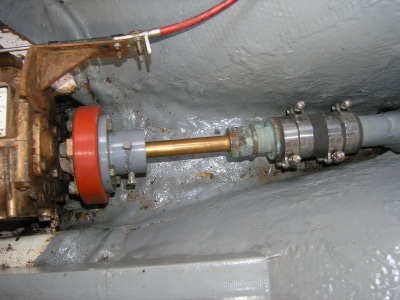
Here's a newly-cleaned shaft, a new shaft coupling, and a new packing-box hose. Within the shaft tube there's a new cutlass bearing.
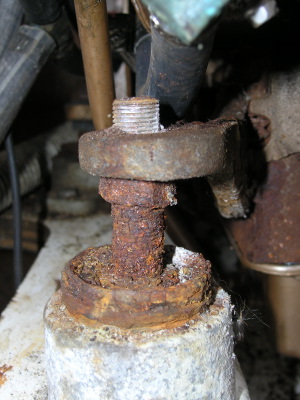
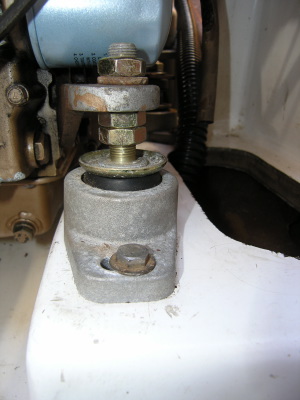
The engine mounts were relatively ease to replace. And realigning the engine was easier than I expected.
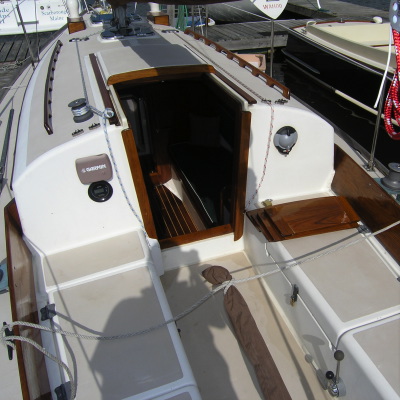
Brightwork! Six coats. Still need to do the toe rails.
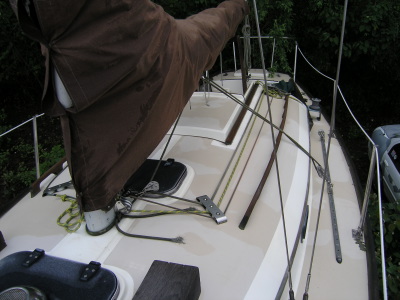
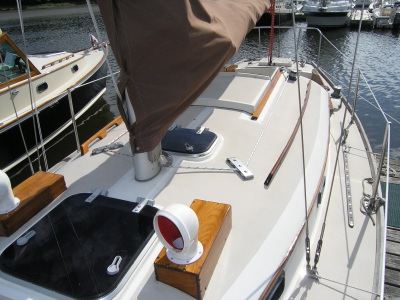
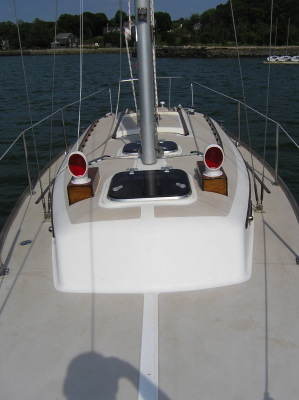
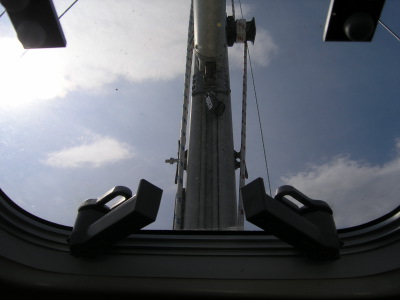
New cowl vents (got a great deal though Craigslist) and new Hatches from Vetus.
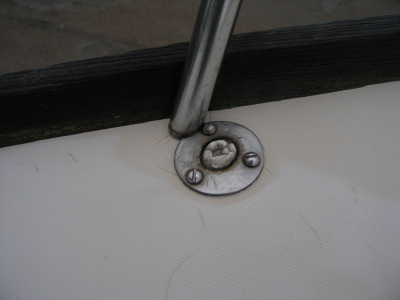

I removed both the stern and bow pulpits and brought them to a welder who specialized in stainless steel. He fixed three of the bases. Total cost: $100.
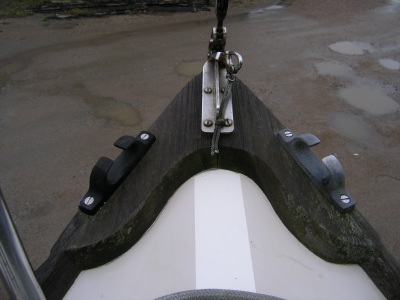
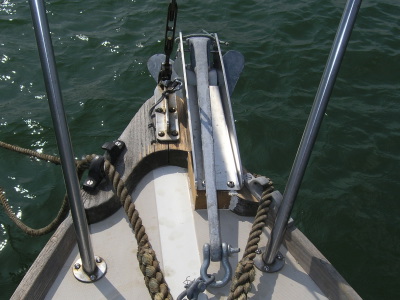
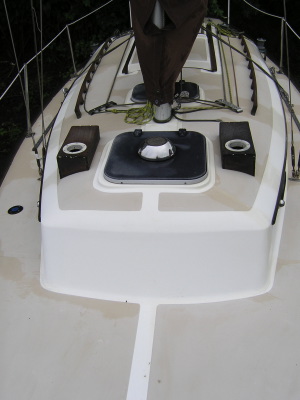
New anchor roller, new through-deck, and a lightly used CQR anchor.
Hatches, as seen from above and below.
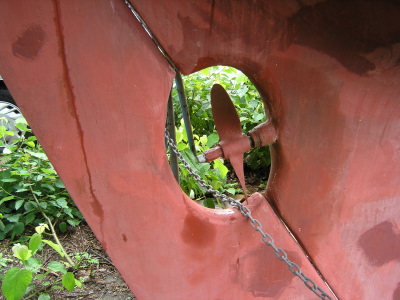
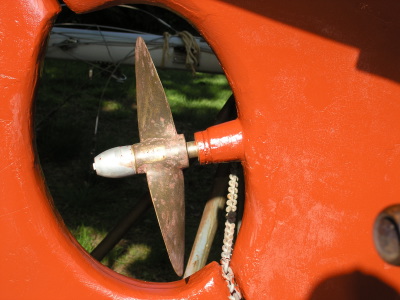
I used a chemical stripper to remove many layers of paint from the propeller. Also installed a new nut that holds a zinc.
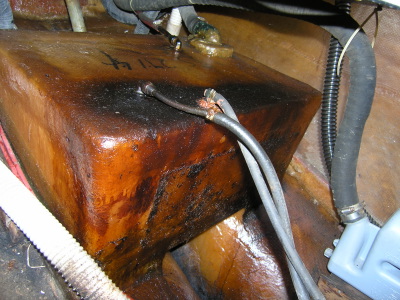
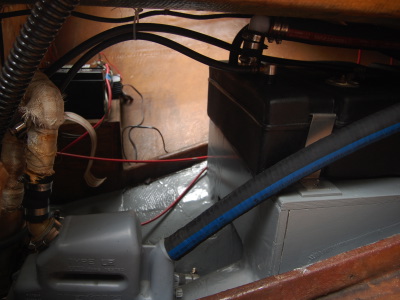
This was my biggest job: removing the old fuel tank and installing a new one.
NEXT: Photo Essay -- Fuel Tank Replacement...