Project: Prop shaft overhaul
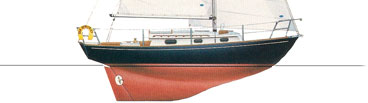
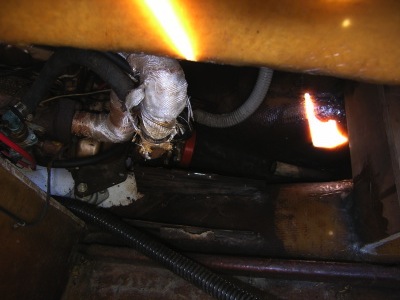
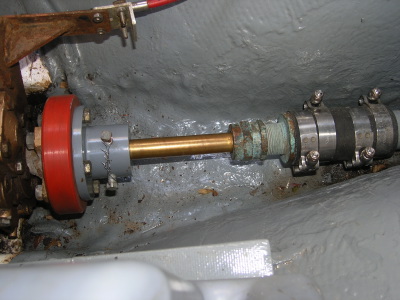
From my initial inspection of the boat I suspected that the cutlass bearing needed to be replaced. This was confirmed by my surveyor, Peter Hunt. Here we have a peek of the stuffing box, which is the green object at the center of the photo. It was kinda of a mess down there. |
|
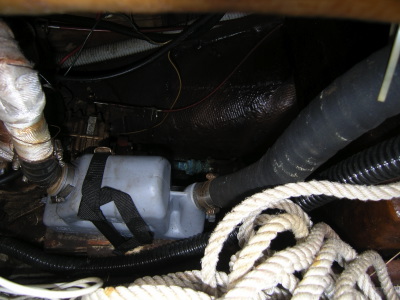
The first task was to remove the propeller. For this job, I needed to purchase a prop-puller, which (if I remember correctly) cost about $90. |
|
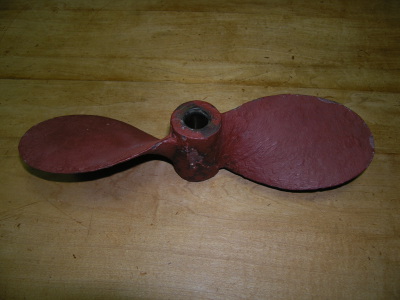
Even with the prop puller, I still needed additional help from a propane torch. You can see here signs of the heat I applied. The prop had lots of layers of bottom paint. |
|
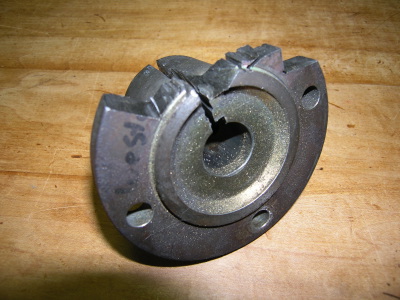
It took me several weeks to separate the shaft from the shaft coupling. I tried the suggestions I found in my books and on the Web, then finally resorted to cutting it free. Here again my Rotozip came in handy. To be able to slice through to the shaft I had to first cut away at the edge. To remove the shaft I could have cut the shaft instead (it would have been a lot easier!), but the cost of a new coupling is much less than the cost of a new shaft. |
|
I wish I took a photo of the shaft before I cleaned it. It was mostly green and black and loaded with lots of crud. |
|
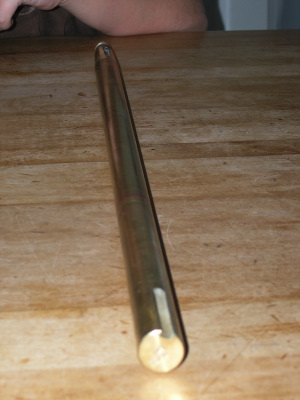
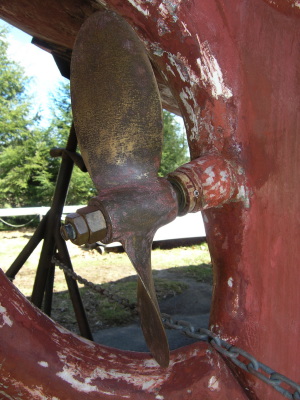
Prop shaft removed. |
|
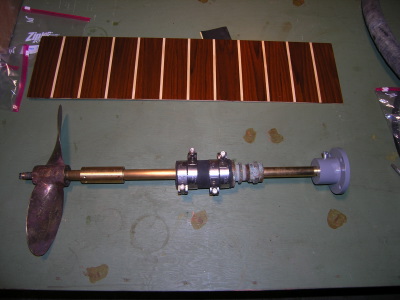
Ready for reinstallation. |
|
I used paint stripper to remove the paint from the prop, and I cleaned the stuffing box and replaced its packing. The cutlass bearing (next to the prop), stuffing box hose, clamps, and shaft coupling are all new. |
|
I don't know about you, but to my eyes, this is a lovely sight. |
|
To accommodate the set screws, I needed to tap three holes in the cutlass bearing. You can see one of these screws and the end of the cutlass bearing here. |
|
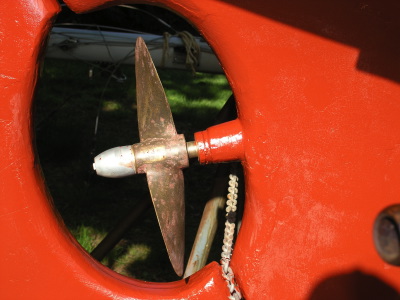
And here's the prop after I added a zinc (and after I painted the bottom). It spins freely, and there's no play. |
|
Next project: Holding tank...